Get Started With Nuxt (V3)
Nuxt is an excellent full-stack framework built around Vue.js. It provides the structure and facilities that help you build complete web apps with ease. In this tutorial, we'll demonstrate how to build a simple blogging app. You'll see how effortless it is to build a fully secure application with Nuxt and ZenStack combined.
You can find the final build result here.
Requirements
Our target app should meet the following requirements:
- Email/password-based signin/signup.
- Users can create posts for themselves.
- Post owners can update/publish/unpublish/delete their own posts.
- Users cannot make changes to posts that do not belong to them.
- Published posts can be viewed by all logged-in users.
Let's get started 🚀.
Prerequisite
- Make sure you have Node.js 18 or above installed.
- Install the VSCode extension for editing data models.
Building the app
1. Creating a new project
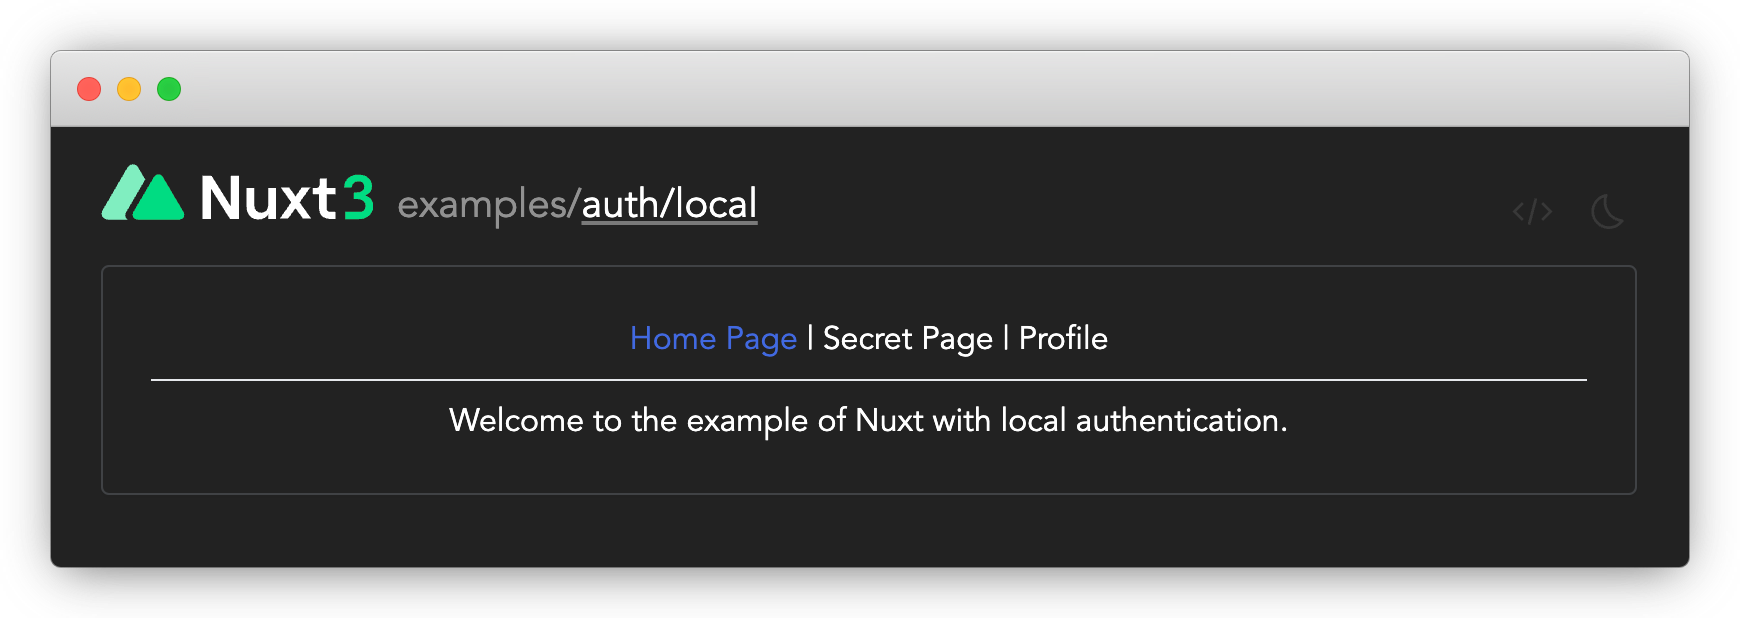
Although authentication is not the focus of the project, we need a basic signup/signin system to get going. The Nuxt with Local Auth sample can serve as a good starter.
First, make a copy of the project using degit, install dependencies, and start the dev server:
npx degit nuxt/examples/examples/auth/local my-nuxt-blog
cd my-nuxt-blog
npm install
npm run dev
If everything works, you should have a running Nuxt app at http://localhost:3000.
2. Initialize the project for ZenStack
Let's run the zenstack CLI to prepare your project for using ZenStack. The CLI will also install Prisma dependencies too.
npx zenstack@latest init
The command installs a few NPM dependencies. If the project already has a Prisma schema at prisma/schema.prisma, it's copied over to schema.zmodel. Otherwise, a sample schema.zmodel file is created.
Moving forward, you will keep updating schema.zmodel file, and prisma/schema.prisma will be automatically generated from it.
The CLI generates a template schema.zmodel file containing data schema and access policies, which almost already satisfies our requirements. We only need to make some small tweaks to it:
- Add a
namefield to theUsermodel - Make the
Usermodel readable by all users
model User {
    id String @id @default(cuid())
    email String @unique @email
+   name String?
    password String @password @omit @length(8, 16)
    posts Post[]

    // everybody can signup
    @@allow('create', true)

+   // user profiles are public
+   @@allow('read', true)

    // full access by self
    @@allow('all', auth() == this)
}
Last, run zenstack CLI to regenerate Prisma schema, and sync it to the database:
npx zenstack generate
npx prisma db push
3. Implementing authentication
The sample project already contains the basic structure for authentication APIs and UI, however it's not connected to the database yet. Let's do that now.
First, create a /server/prisma.ts file to create and export a PrismaClient instance:
import { PrismaClient } from '@prisma/client';
export const prisma = new PrismaClient();
Then, replace the content of /auth/server/utils/db.ts with the following:
import type { User } from '@prisma/client';
import { prisma } from '~/server/prisma';

export async function findUserByEmail(email: string) {
    return prisma.user.findUnique({ where: { email } });
}

export async function createUser(user: Omit<User, 'id'>) {
    return prisma.user.create({
        data: user,
    });
}
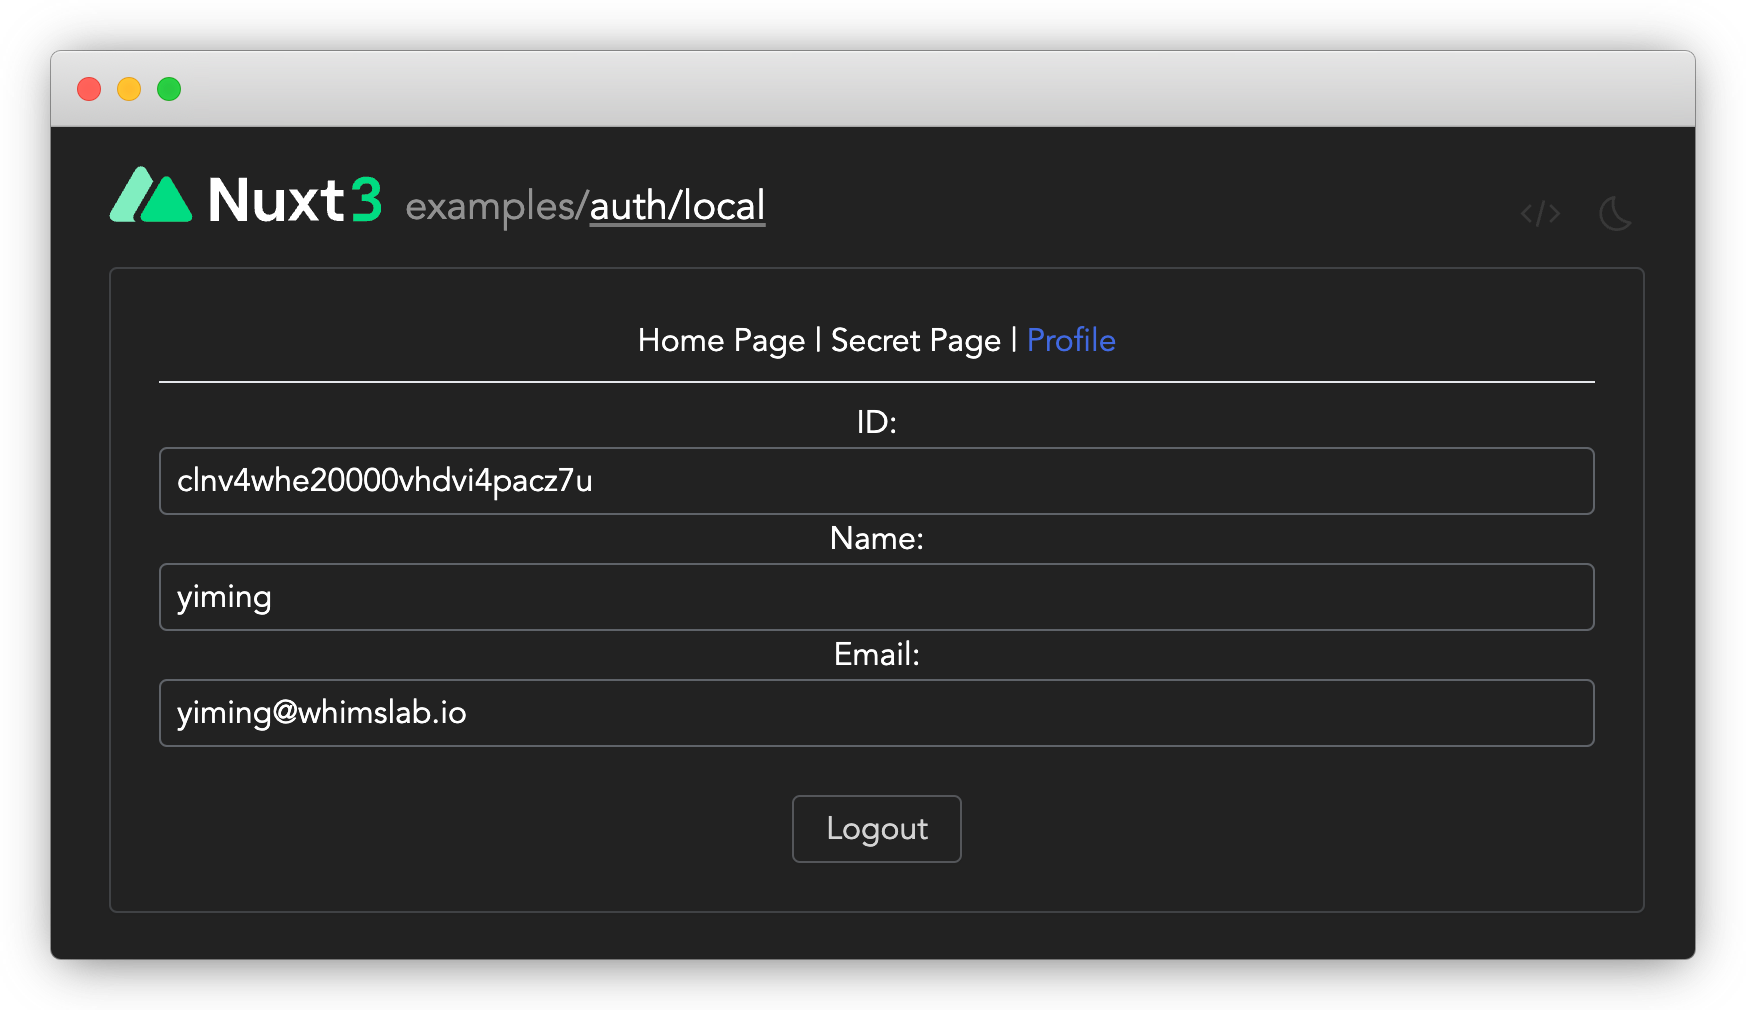
Now when user signs up or logs in, Prisma is used to create and retrive user data from the database.
Finally, restart the dev server, and you should be able to create user account and login now.
4. Mount CRUD service & generate hooks
Let's take a review of the Post model in schema.zmodel:
model Post {
    id String @id @default(cuid())
    createdAt DateTime @default(now())
    updatedAt DateTime @updatedAt
    title String @length(1, 256)
    content String
    published Boolean @default(false)
    author User @relation(fields: [authorId], references: [id])
    authorId String @default(auth().id)

    // allow read for all signin users
    @@allow('read', auth() != null && published)

    // full access by author
    @@allow('all', author == auth())
}
The "authorId" field as a @default() attribute with auth().id value. The field will be automatically assigned with the current user's ID when creating a new record. See here for more details.
Notice how the access policies are defined in the schema to control who has what access to the data? To enforce these policies, we'll need to create an "enhanced" PrismaClient, like:
import { enhance } from '@zenstackhq/runtime';
const db = enhance(prisma, { user: ... });
All CRUD calls made via the enhanced client will be subject to the access policies. Since the ORM is already secured, ZenStack can automatically mount a set of CRUD APIs onto your Nuxt app. To achieve it, first install an extra server adapter package:
npm install @zenstackhq/server
Then, create a /server/api/model/[...].ts file with the following content:
import { enhance } from '@zenstackhq/runtime';
import { createEventHandler } from '@zenstackhq/server/nuxt';
import { prisma } from '~/server/prisma';

export default createEventHandler({
    getPrisma: async (event) => {
        const session = await useAuthSession(event);
        return enhance(prisma, {
            user: session.data.id ? { id: session.data.id } : undefined,
        });
    },
});
The "[...].ts" file name convention creates a "catch all" event handler that handles all requests sent to the /api/model endpoint and its descendants.
The CRUD APIs for all your models are now mounted to the /api/model endpoint.
5. Generating client hooks
We can write frontend code to consume the CRUD APIs, but that would be quite boring. Instead, let's use a plugin to generate them for us. First, install the @zenstackhq/tanstack-query plugin package:
npm install @zenstackhq/tanstack-query @tanstack/vue-query
The --force flag is required due to a misconfigured dependency in @tanstack/vue-query.
Then, add the following snippet to schema.zmodel:
plugin hooks {
    provider = '@zenstackhq/tanstack-query'
    target = 'vue'
    output = 'lib/hooks'
}
Finally, rerun zenstack CLI to trigger the generation:
npx zenstack generate
The TanStack Query hooks will be generated under /lib/hooks and ready to be used in our frontend code.
6. Building the home page
With all the preparation work done, we can build the page for creating and listing posts now!
First, enable "@tanstack/vue-query" in the app by creating a plugin under /plugins/vue-query.ts:
import { VueQueryPlugin, QueryClient } from '@tanstack/vue-query';

export default defineNuxtPlugin((nuxt) => {
    const queryClient = new QueryClient();
    nuxt.vueApp.use(VueQueryPlugin, { queryClient });
});
Also, add the following <script setup> code to /app.vue to configure the API endpoint used by the query hooks:
<script setup lang="ts">
import { provideHooksContext } from './lib/hooks';

// Provide tanstack-query context
// Use an absolute endpoint so server-side fetch works too
provideHooksContext({
    endpoint: 'http://localhost:3000/api/model',
});
</script>
Then, create a Post component under /components/Post.vue for rendering a single post:
<script setup lang="ts">
import { useDeletePost, useUpdatePost } from '~/lib/hooks';

const props = defineProps({
    id: String,
    title: String,
    author: {
        type: Object,
        default: () => ({ email: '' }),
    },
    published: Boolean,
});

const updatePost = useUpdatePost();
const deletePost = useDeletePost();

const onTogglePublish = async () => {
    try {
        await updatePost.mutateAsync({
            where: { id: props.id },
            data: { published: !props.published },
        });
    } catch (err: any) {
        alert(err.info?.message ?? err);
    }
};

const onDelete = async () => {
    try {
        await deletePost.mutateAsync({ where: { id: props.id } });
    } catch (err: any) {
        alert(err.info?.message ?? err);
    }
};
</script>

<template>
    <div class="flex justify-center">
        <div class="min-w-80">
            <span class="mr-4 text-lg font-semibold">{{ title }}</span
            ><span>by {{ author.email }}</span>
        </div>
        <div class="ml-8 space-x-2">
            <NButton @click="onTogglePublish">{{
                published ? 'Unpublish' : 'Publish'
            }}</NButton>
            <NButton @click="onDelete">Delete</NButton>
        </div>
    </div>
</template>
Finally, update the content of /pages/index.vue to the following:
<script setup lang="ts">
import { useFindManyPost, useCreatePost } from '~/lib/hooks';

const title = ref('');
const createPost = useCreatePost();

const onCreatePost = async () => {
    try {
        await createPost.mutateAsync({
            data: {
                title: title.value,
                content: 'My awesome content',
            },
        });
        title.value = '';
    } catch (err: any) {
        alert(err.info?.message ?? err);
    }
};
const { data: posts } = useFindManyPost({ include: { author: true } });
</script>

<template>
    <h1 class="text-2xl font-bold my-4">My Awesome Blog</h1>
    <div v-if="session?.id">
        <div class="flex justify-center">
            <NTextInput
                v-model="title"
                placeholder="Title"
                class="w-1/2 mr-4"
                @keyup.enter="onCreatePost"
            />
            <NButton @click="onCreatePost">Create Post</NButton>
        </div>
        <ul v-if="posts" class="py-8 space-y-2">
            <li v-for="post in posts" :key="post.id">
                <Post v-bind="post" />
            </li>
        </ul>
    </div>
</template>
5. Testing the app
Now you can create and manage posts in the home page.
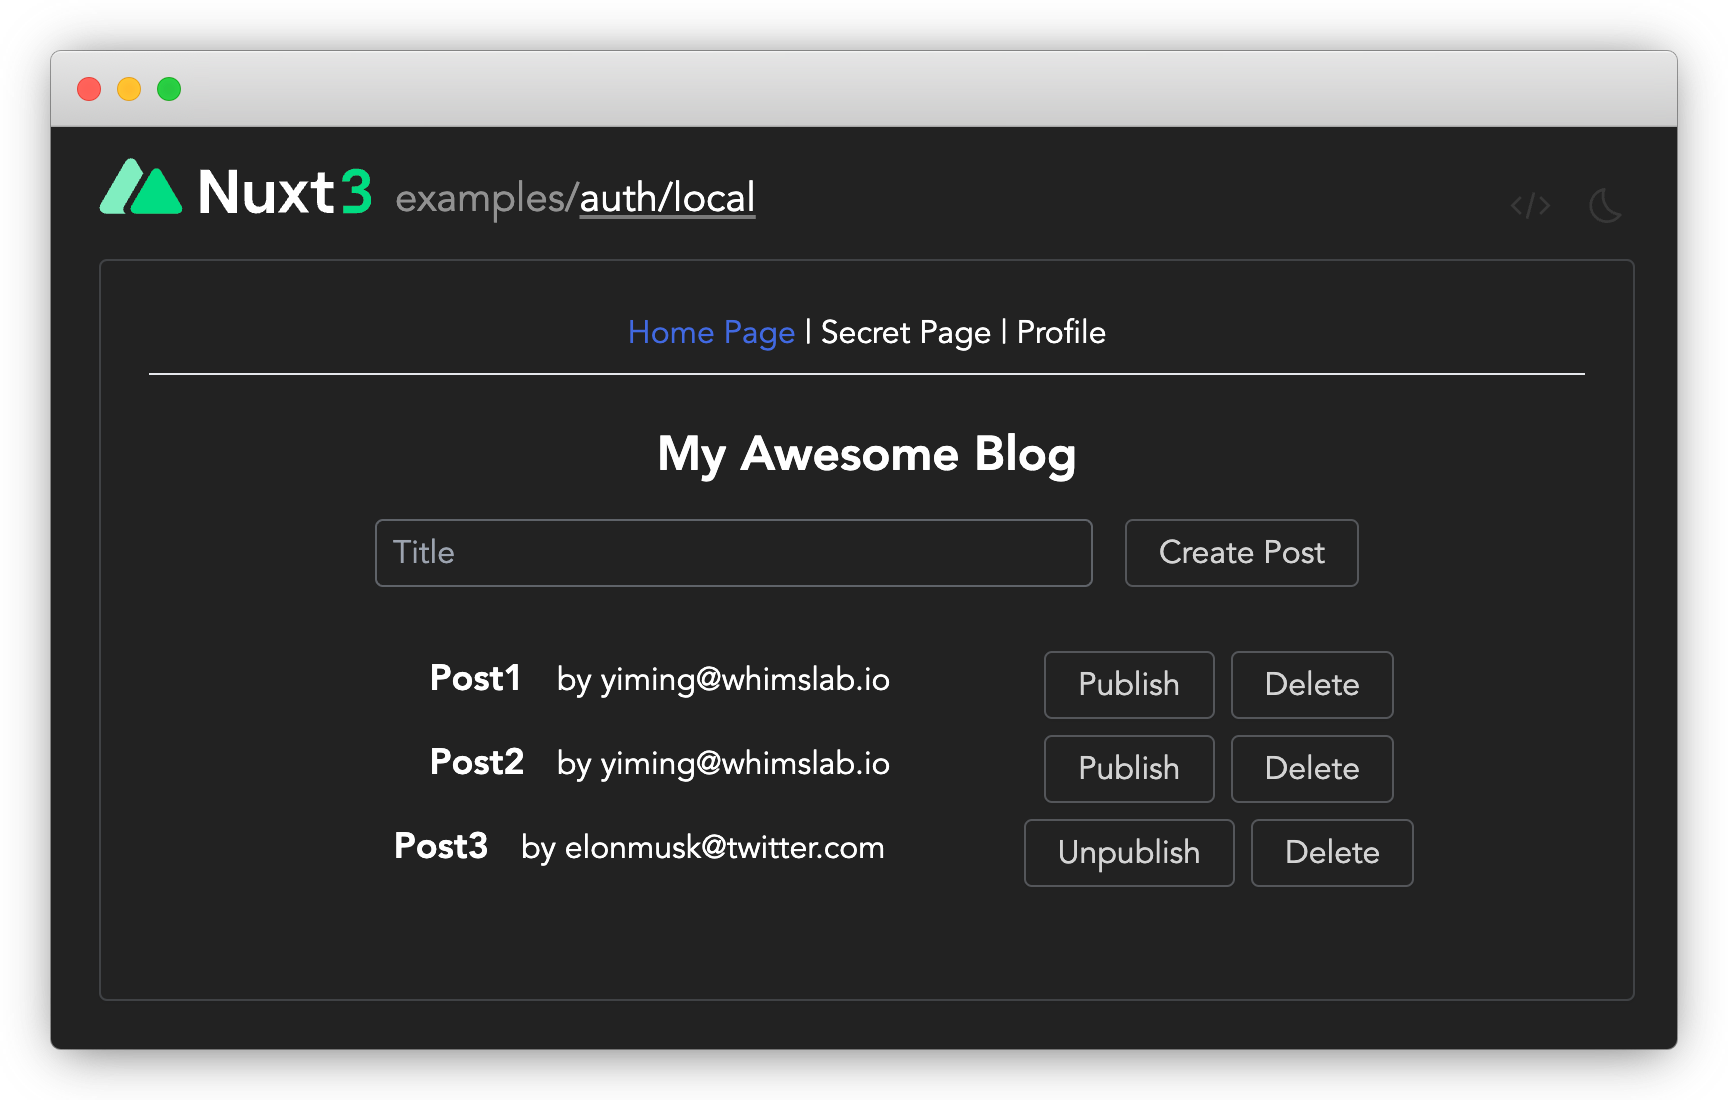
Try signing up another account in an incognito browser tab and publish a post. That post should be visible to the previous account too. Our policy rules are at work.
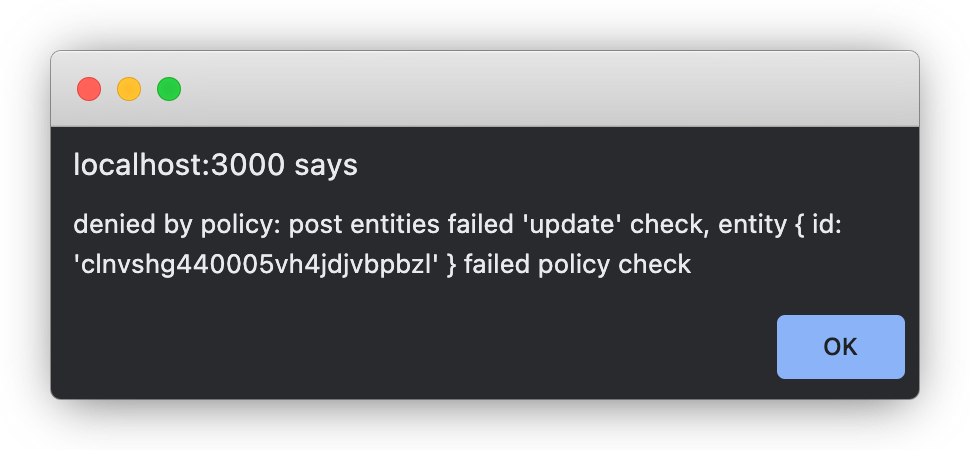
You may have noticed that a user can publish, unpublish, or delete other user's posts from the UI. That's because we haven't implemented any conditional rendering logic yet. However, if you try to do that, the server side will reject the request and keep the data safe. In a real application, you'll want to capture the error and show a proper message to the user.
Wrap up
🎉 Congratulations! You've made a simple blogging app without writing a single backend API. Pretty cool, isn't it?
If you have trouble following the building process, you can find the final result here. For more details about ZenStack, please refer to the Reference and Guides parts of the documentation.
Have fun building cool stuff 🚀!